Thursday, October 24, 2013

the hole...

On August 19th we had a little leak in my master bathroom upstairs. My husband fixed the leak not realizing water got behind the shower wall, oops!

"ROUGHLY" 3 feet wide.

Right in our ENTRYWAY!

Believe it or not, most people did not notice it right when they walked in.


I measured a nice, even rectangle around the hole, Todd cut it out with a razor. The hole was left open for a good 2-3 weeks before we closed it up. We wanted to let it dry out up there:)

Todd cut the sheetrock to fit PERFECTLY! It was extremely difficult to hang. He held it up, while I screwed it in.
It's 1/4" sheetrock by the way, make sure you measure the thickness if you ever need to do this type of repair.

This project did not cost us too much, thank God!
We had this compound, which I love to use for patching up everywhere.
We bought the paper tape for a few bucks.
We have the tools.
The sheetrock was damaged on one corner, Todd got it for $5.

I taped the lines using the compound like glue.

I would put a layer of compound on the creases and into the corner, staying as neat as possible. The neater you are, the less work later. Be patient and let each layer dry over night.

Each time I added a layer, I would spread the compound out further out. I also repaired an area to the left where the previous owner tried to patch something. Let it sit over night one more time...

Here I am after sanding it down nice and smooth. My daughter took this picture of me, not so clear but funny!

This is what I used to prime the ceiling. I've had it sitting with all of my paints, bought for another project that I haven't gotten to yet. Our ceiling is textured so I have this decorative sand I use to mix in with the paint for ceiling repairs.

Priming the ceiling with a half circle motion to blend with the textured ceiling.

Painting the ceiling (and walls) with Benjamin Moore "Bleeker Beige".
Its just about finished...I'll post pictures of our new entryway soon!
This was a huge job and not easy. My 10 year old son said to me, "Mom, you're doing such a great job making our old house look new". So rewarding:)


Friday, October 11, 2013

chalkboard...

I promised my daughter I would make her a chalkboard on this wall, I finally did it!
In the "Living/Playroom"
I have not mastered the "chalkboard font" yet:)


I found the frame in Michaels Craft Store, unfinished $8.
Spray painted it with Rustoleum flat black.
I traced the inside of the frame onto the wall.
Painted the rectangle with Chalkboard paint.


Roughed up the edges with a sanding block.
Sealed it with a clear matte spray paint.
Attached the frame to the wall with sheetrock screws.

My daughter's teacher gave me this African Violet on the last day of school, June 2013, for being her "Room parent".
 I decided to ditch the plastic container it came in and replant it into this artichoke jar-RE PURPOSE!
I put small stones into the bottom, packed the plant with dirt into the jar...4 months later-looks happy! 

Monday, September 30, 2013

some old tiles i found...

I found these old tiles in an antique store, in North Carolina, while visiting my family this summer.

I sprayed them white, a couple of coats, let them dry well.
Rubbed them with stain to bring out the pattern.  

Not sure if I LOVE them, a little too dark.
I hung them in my dining room, which was the plan.
They might get painted again in the future:)

Monday, September 9, 2013

the best place to sit at our house...


This is our favorite place to hang out at our house...the back deck, when the weather is nice anyway.
I wish we had underground electrical wires here but it's still beautiful.
Every night the sky is a different color.
Aaaahh...I'm not bragging, just blogging:)
  

This is an old egg basket my grandmother gave me. Strange that they used metal baskets to carry delicate eggs out from the chicken coop. I folded a piece of burlap to intertwine around it. I have all different types of baskets around my house to hold magazines, catalogs,photo albums and books for the kids. They're great to just throw into a corner somewhere.


Sunday, August 4, 2013

a dresser...


I needed a small dresser for guest linens.
My grandparents gave me this one from their log cabin...just needed a little work.


I sanded the outside and the face of the drawers with a circular hand sander.
Sandpaper was a 180.

Painted it with several layers of "Cabinet Coat" by INSL-X, picked it up at my local William's Lumber store.
Recommended use for cabinets and trim, resists chipping and scuffing.
I purchased the new hardware from Home Depot.
Right now it has a big, old, ugly TV on top.
We're hoping to switch that out someday with a more attractive flat screen.
...but it's serving it's storage purpose:)

Sunday, July 28, 2013

and the list goes on...

My husband said to me today, "Your like a ping pong table!" He's right. I have projects going on all over the place! He was running out to Home Depot this morning and asked if I needed anything, bad mistake. I started rambling off a few things then asked if he could rent me a steamer to remove more wallpaper. He said "no, I have to finish all of my other projects before I can begin something new". I need him to keep me focused :)
I hope everyone is having a great summer. I'm enjoying the time with my kids. We've been opening some more boxes (yes, still unpacking) and finding places for all of our things. The kids get excited when they find more toys! I'm trying to clear out and organize our basement-this will take a while. The kids were busy with morning camps through July so we're looking forward to sleeping in and hanging at home. Mommy's looking forward to finishing all of her projects :)

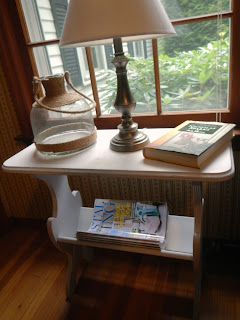
I found this little table at an antique center a couple of  years ago. So cute but needed some serious help.
 I finally did something with it! 


I used Scotch Brite pads (rough, green pads) with Spray 9 cleaner to scrub this table down.
Sanded it a little to smooth any loose paint but wanted to keep the "worn, used" look.
Wiped down with damp cloth.


After the table dried, I sprayed it down with Rustoleum 2x-double cover white flat paint, allowing the rough areas to come through.


I will have lots to post in this next week as I complete each of my projects in the works!
Refinishing a couple of dressers, finishing trim in kitchen, Our "Where We've Been" map, a photo collage, darkening brass fixtures & fireplace doors...the list goes on and on.


Monday, June 10, 2013

Country Living Fair part two...

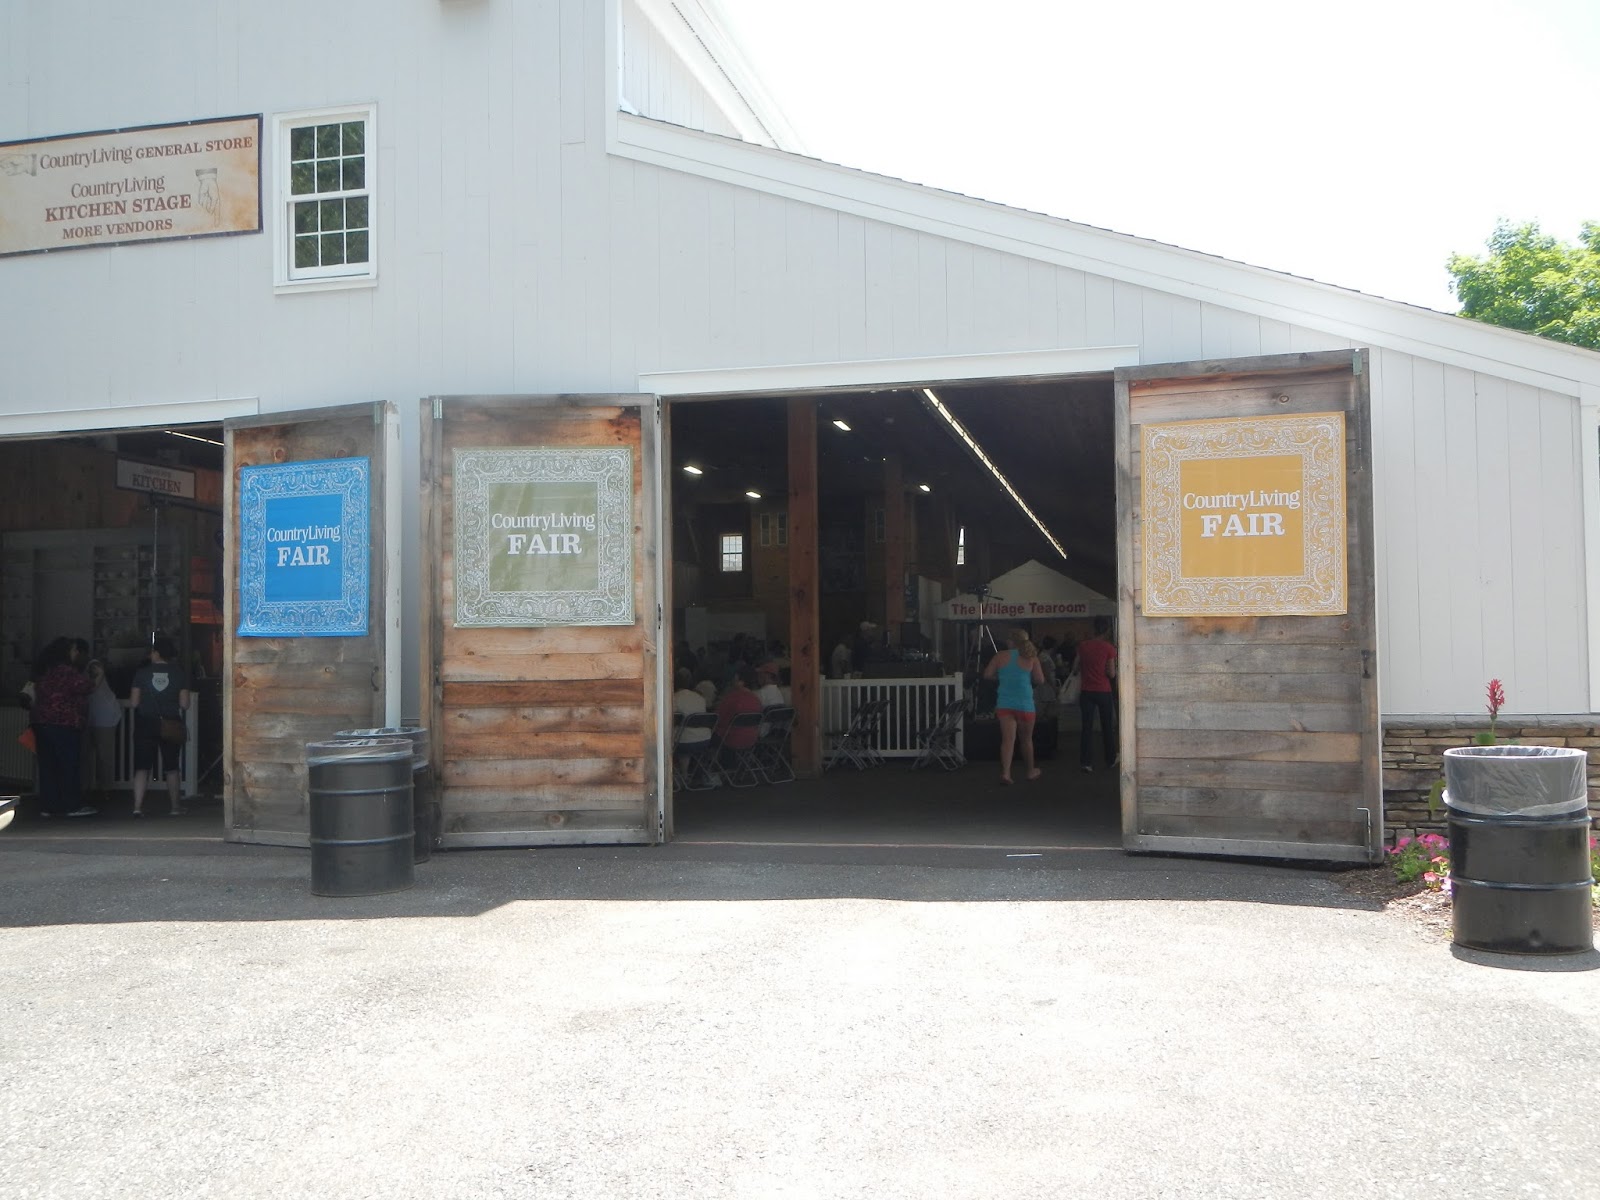
Entering the fair on Sunday-
Much better weather!


There was a cooking show going on inside this building, I was on my way over to another barn to watch
"Cari's" presentation (HGTV's Cash and Cari)


Lots of stuff!


More stuff!


Love the bandannas hanging off of the rustic beams in these huge barns


Here's Cari!
Cari has a great story of how she started Re Purpose.
She was inspired by her grandfather who saved EVERYTHING!

 You can watch her show on HGTV.com, I recommend checking out the episode with her grandparents estate sale.
http://www.hgtv.com/video/caris-family-sale-video/index.html


BEAUTIFUL


JUST BEAUTIFUL


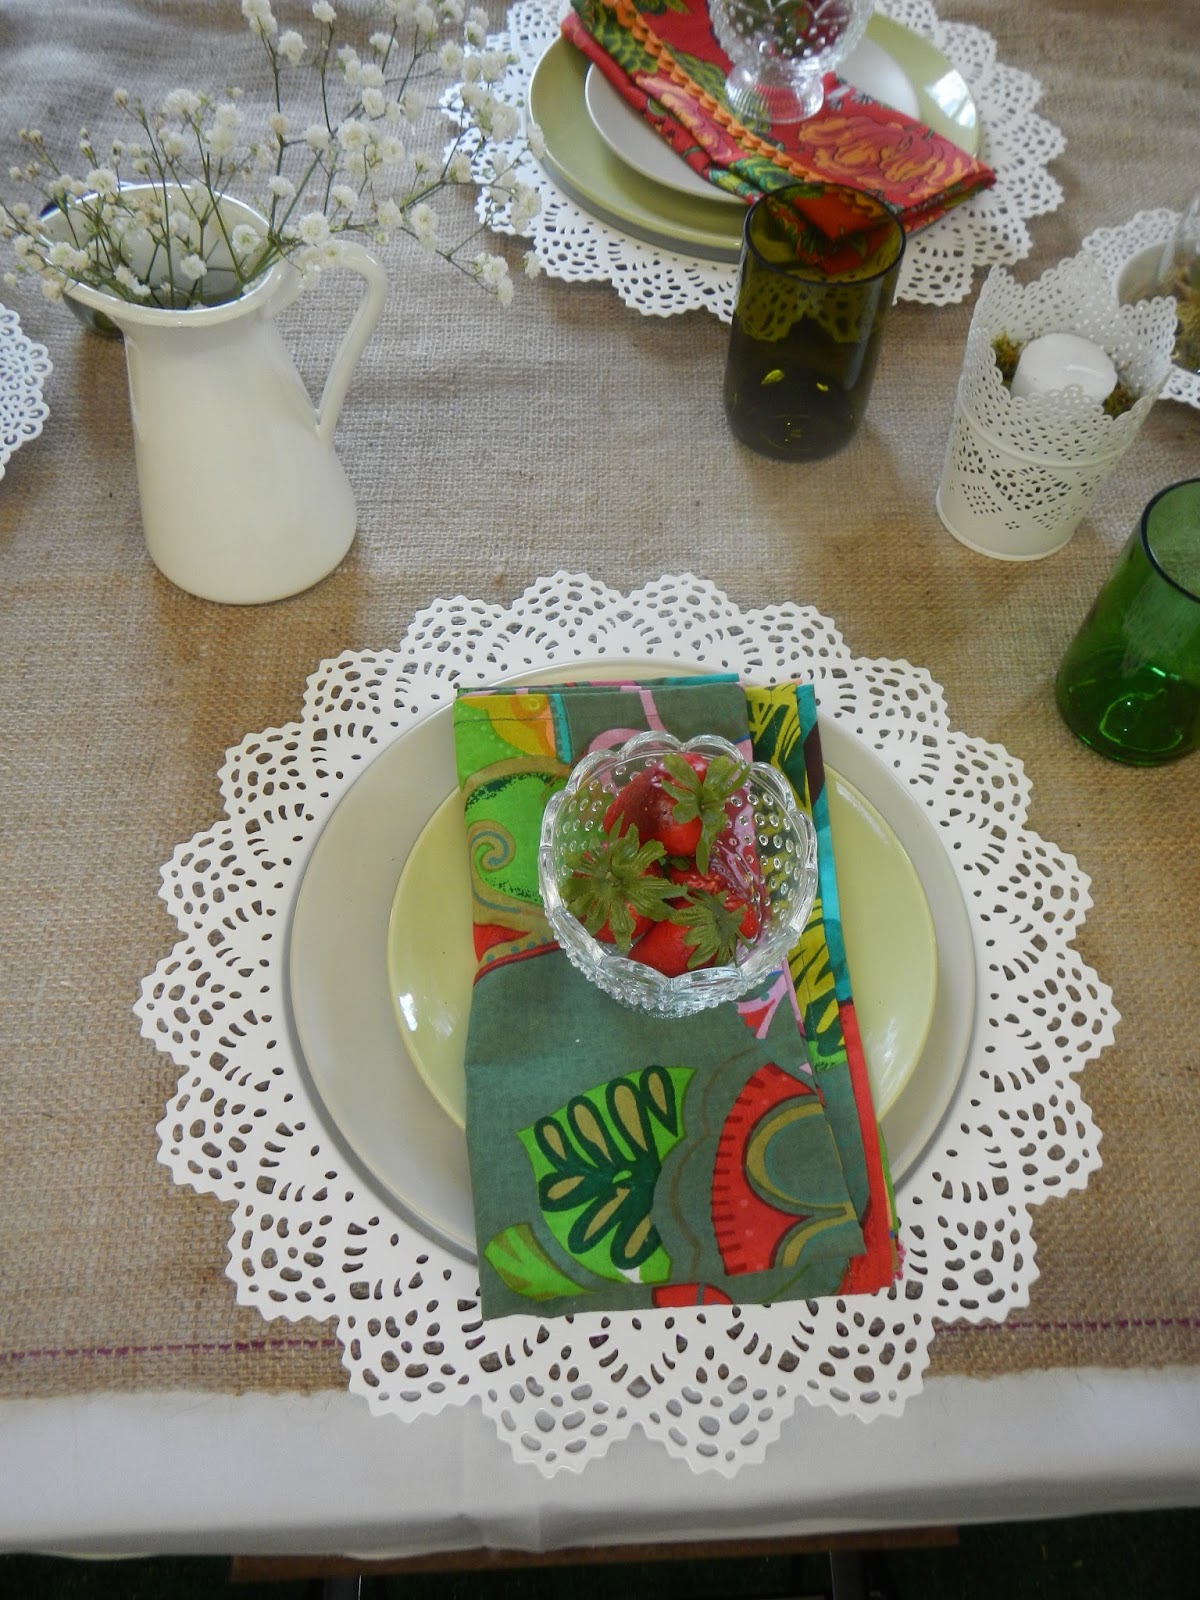
This table was set up in the "Country Living" building where they displayed many of their decor/cookbooks,
you could have your book signed by the editor.