Friday, March 15, 2013

little by little


Well, I didn't care for the dark wall color behind these cabinets after the backsplash was installed...
 

...So, I painted  the two walls behind the cabinets a creamy off white called "Birch White". The opposite wall remains the mocha color, which is actually closer to an olive green.
Like the backsplash? I chose "antique white" grout to bring the granite color into the backsplash.


Yes, that is a "Hello Kitty" toaster next to my Kitchenaid mixer.
You can see that I am now finishing up the bottom cabinets-a little harder to do with a six month old puppy around.


The floor


I chose "mushroom" for the floor grout to blend right in with the tile color.


While "Tile Concepts" of Wappingers, NY was working on the kitchen, I started painting the dining room. The top is painted "Dune". The bottom is the same creamy "Birch White" I used in the kitchen. The paint I used is Valspar paint and primer in one to completely cover the blue paneling and create a beadboard/wainscoting look.


Friday, March 1, 2013

fitting it all in...

Well, life is crazy for us right now. My husband is working long hours. Between hairstyling, being mom and wife and keeping house, I decided to add a little more craziness into the mix. We're getting the kitchen floor tiled and the backsplash put up. It should all be finished next week sometime. Here is a sneak peak...


 As you see, our kid's bathroom is coming along. On the walls, I used Benjamin Moore Kitchen and Bathroom paint in "night train".
 

I'm updating the frames of two old brassy mirrors-in the bathroom-with silver acrylic paint, then I will rub a stain over them for an antiqued effect.

Wednesday, February 6, 2013

keeping you posted :)

It's a miracle that I'm writing a post so soon since my last. I'm so excited about our cabinets-can't wait to show you all!

See why I'm so excited?

Liberty's excited too!

This will be the backsplash
Italian tile "Agura Noce Muretto"

This is our floor tile "Revello Beige"
18in. x 18in.
We were not planning on doing the floor anytime soon but this tile was on clearance in Lowes Home Store for 50 cents each! They happen to match our color scheme. Now we have them, when we are ready we will have them installed. Sometimes you can not pass up a sweet deal like this.

Friday, February 1, 2013

getting things accomplished...

Just wanted to keep you updated on what I've been working on. 
Our kid's bathroom has a new toilet!
Notice the white tile on the walls? I'm extremely excited over how great this bathroom is coming along.


Nice, clean, white tub.
I used Rustoleum Tub & Tile epoxy
This is extremely easy to use. Mix two parts together (stinky!). I kept the window cracked open and a fan blowing through the room. I used a small paint brush for the corners and a smooth foam cabinet brush for everywhere else. It is self leveling, no streaks are left. This tile had a blue floral print, it took three coats to completely cover. Waited at least an hour in between coats. I could not find this product in the store, had to order it online. $25 each from Home Depot-free shipping on $50 and up. 

Here is a sneak peak on how our cabinets are turning out.
For this, I'm using another great product from Rustoleum. This is the Cabinet Transformation Kit in "Potter's Wheel".
$75 at Home Depot. Again, extremely easy to use. There are several steps to follow for correct application. This section is ready for the protective coat and then I will put the doors back on. I used Behr paint and primer in one (off White) for the inside of the cabinets. Here is a demo link if you're interested in seeing how this product is used: http://howto.homedepot.com/videos/watch/1490538925001/RustOleum-Cabinet-Transformations.html

My daughter's chandelier from Ikea

My daughter's mural on her bedroom wall

Friday, January 25, 2013

Happy New Year!

A good way to start off the New Year!
New granite countertops! 

We decided to go with something bright and neutral.
This is a Moen, "spotfree" faucet.


New stovetop by Kitchenaid.


Granite is purchased from "Empire Granite" in LaGrangeville, NY.
The owner recommended doing this to the window sill- you see this when you walk into house from the front door.


Color: Botticino Fiorito

Tub & tile prepared to be painted.
I've painted 2 coats of white Rustoleum tub & tile epoxy in the kids bathroom.
I will show a before and after soon...needs 1 more coat!


Getting organized
My kids playroom table and accessories


Not only am I busy finishing up the kid's bathroom, just yesterday I bought the Rustoleum cabinet transformation kit  http://cabinets.rustoleumtransformations.com/. I chose the color Potter's Wheel-check it out! As soon as the bathroom tile is finished, I will paint the kitchen cabinets. I'm looking forward to this. As soon as upper cabinets are completed, I will call to have the backsplash put up-we're not attempting to do this on our own. I have a bunch of projects all lined up! I'm also working on a floorplan of our house. I hope to add a recent picture of each room (room by room tab) to share with you where were at and my future plans for each room.

Friday, December 14, 2012

deck the halls...


Between our busy schedules of working, chauffering children around, home keeping & remodeling there has to be time to deck the halls...


This is my kids advent calender. My sister & I worked on this together 6 or 7 years ago.
I got the idea from a pottery barn catalog. 

My kids look forward to waking up each morning & open their little goodies.


Each pocket is 4X5 inches.
Sometimes, I will combine the gift-a game they can play together-actually  for this year they will get a gingerbread house kit to work on together.
For larger prizes I put a note in the pocket and keep the prize hidden elsewhere. 

Bye bye backsplash! Yeah!

Between decorating for the holidays, I'm removing the faux brick backsplash.
This has to be finished for Wednesday-countertops will be installed!

Here is the vintage holiday box with "port oxford cedar" trimmings.

Love this vintage looking holiday sign I bought years ago.
I have it hanging over my kitchen window.
Are you noticing the wall color?

Love these wispy greens!

Anyone that knows me well knows that I like things to be simetrical :)

Another simple idea I found and loved!

My mom gave me this old coal bin.
I actually filled the bottom with bubble wrap then placed ornaments on top-totally appears to be filled with ornaments!

What is really cool about this fireplace is that there is an outlet above the mantle. I highly recommend this for anyone building a house! It's one of those little things we probably wouldn't think of. This is a simple garland with some pine cones, gold painted leaves & few gold berries. I added these pine cone covered lights to add warmth and ambiance. Very cozy looking at night.

Oh, and here is my Thomas Kinkade village. Where my daughter and I dream about living in a small town like this.


Monday, December 10, 2012

'tis the Season...

My house is getting decorated very s-l-o-w-l-y this year. I think I'm going to have to do minimal this year-way too much going on. The holiday is creeping up so fast. I just went out Christmas shopping for the 1st time this morning. I finished painting our kitchen, it looks great! I'll post pictures after the countertop is put in (9days!) We got our tree yesterday but it's still naked...

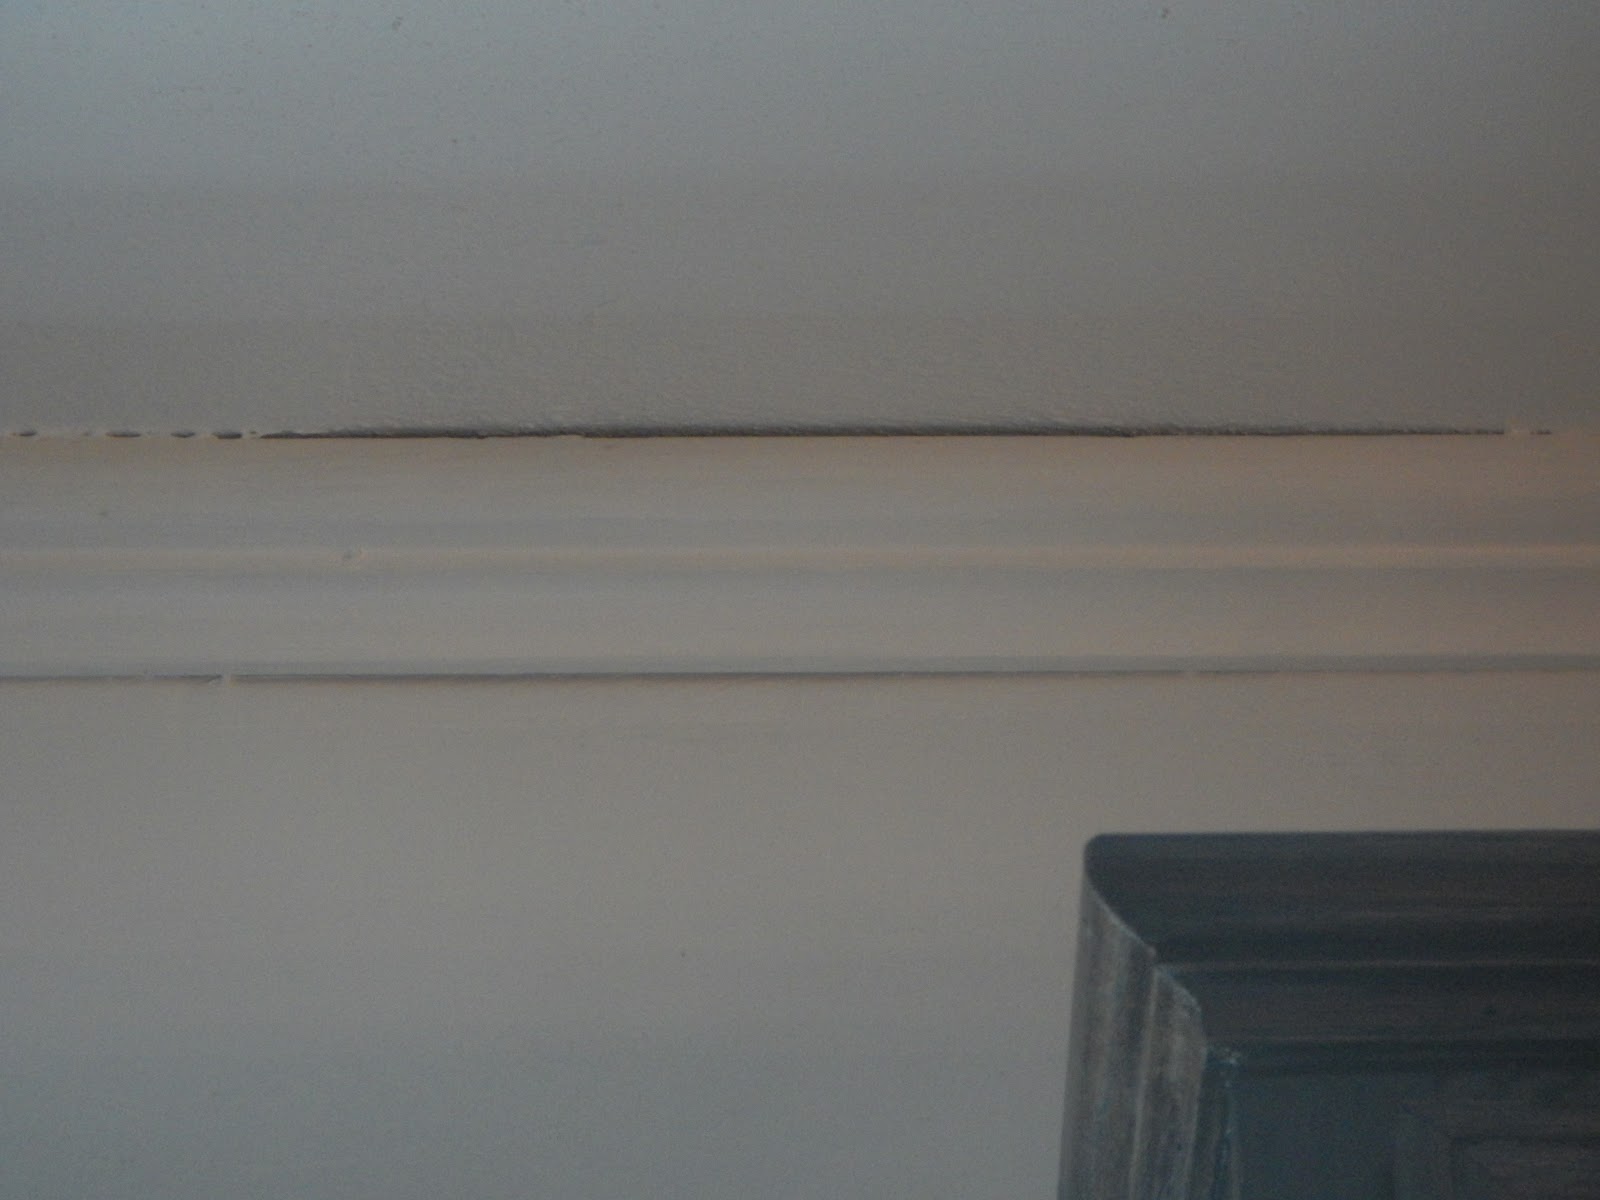
I used a tube of Kwik Seal Plus to seal up the gaps in the kitchen molding.


What a huge difference it made!


I found this great pie case at the Ole Carousel Antique Center in Stanfordville, Ny.
I always wanted one of these, we needed a bookshelf-it was meant to be!