Tuesday, June 4, 2013

As the school year comes to the end...

I was so busy up to the end of April getting everything done on my list before my family came in to NY. After they left, I needed a break. I had tons of laundry, the weather was nice and I was dying to get outside  do some cleaning up. Now, all of us moms are looking forward to the last day of school...or are we?
I'm always working on something around here...let me catch you up on a few things...


I used a shoe organizer to store cleaning products! Got this great idea from pintrest.
 

We hung it in a large hallway closet. Very convenient for downstairs cleaning!

Our kid's bathroom mirrors-from brass to pewter!
I cleaned them well, let them dry, used a metallic acrylic craft paint, finished with a light stain.
More kitchen pictures...


notice the pendant lighting?


We still have to paint and trim out the bead board on the peninsula and floor.


I created this little "wine bar" for myself in my dining room 


The dining room walls came out great. I'm very happy with the colors...still needs to be straightened up for full room pix!


a little more for you


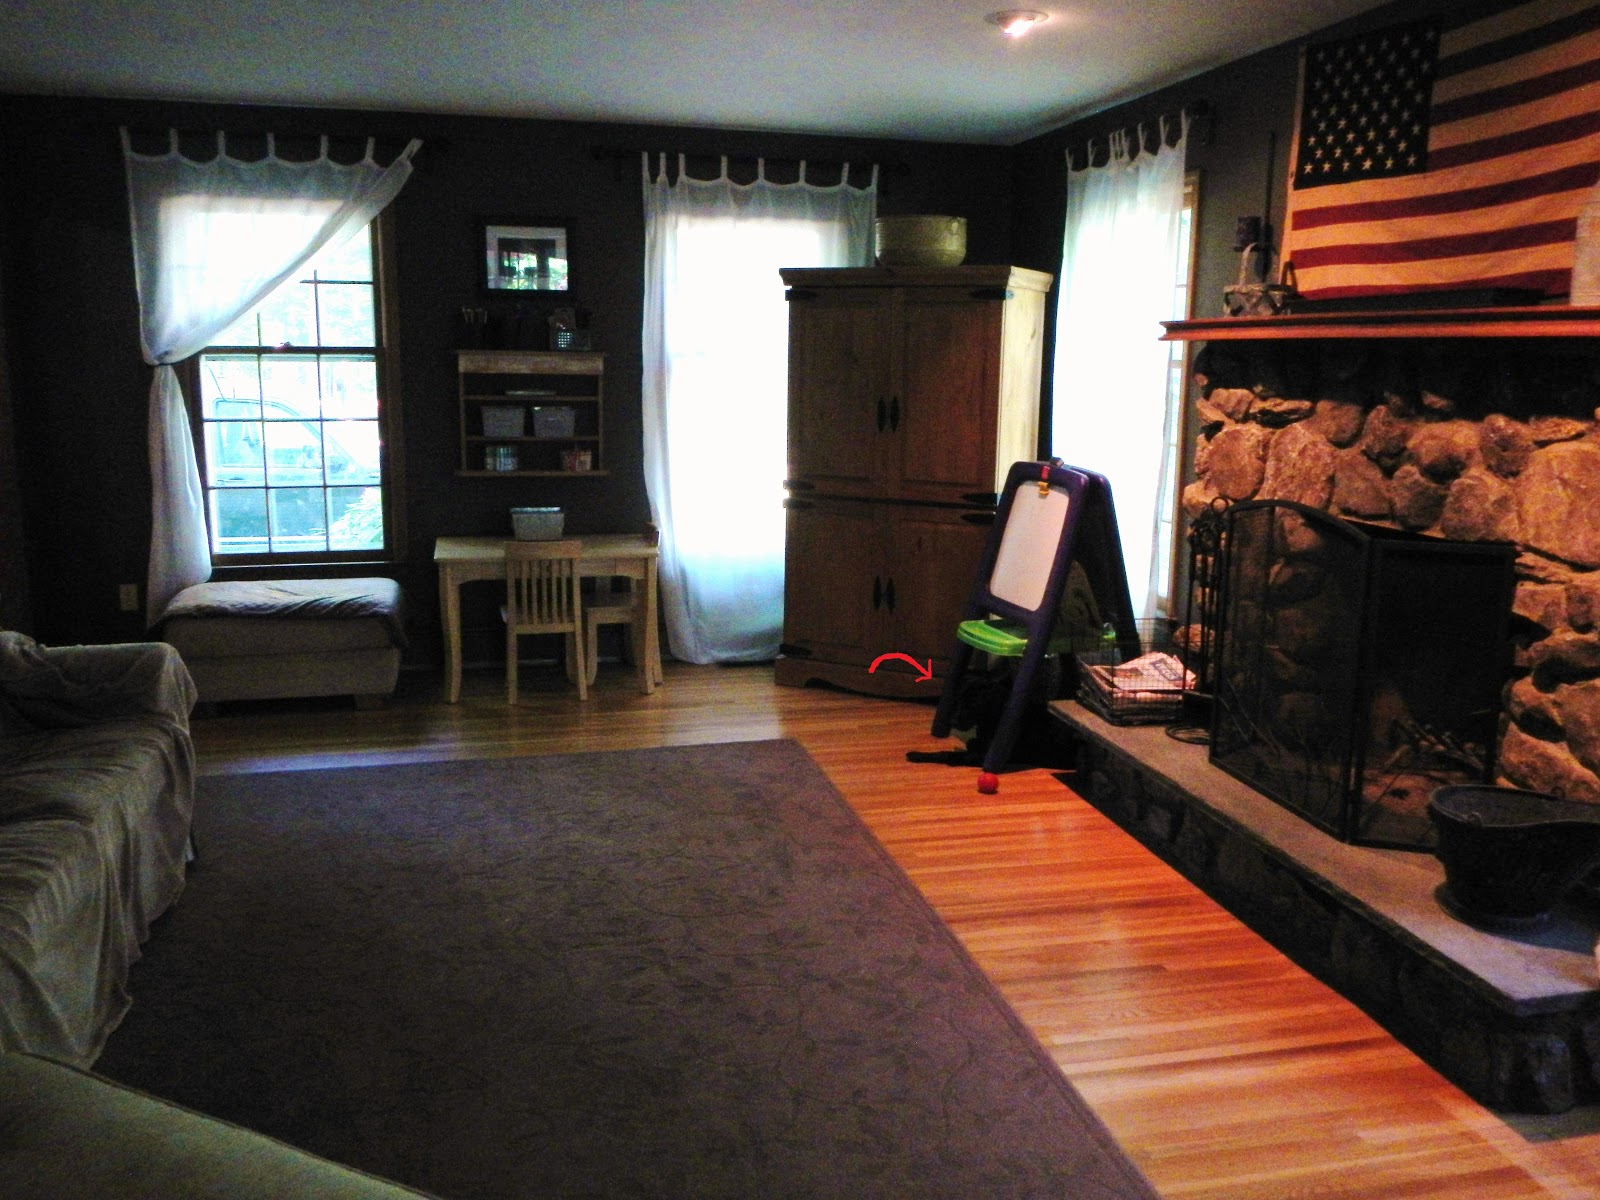
My Americana living room


The paint color is Martha Stewart "seal"
in Behr paint (flat)

Liberty did not want her picture taken today

She is 9 months old now!

Tons of fun with an attitude!

Can you see her hiding in this picture?


I found these dish covers, great for an outdoor party-$3.29 each at The Christmas Tree Shop, table cloth $9.99.
 (FYI same covers at Target were $9.99!)

I couldn't wait to get into planting some color around here!
I hope this makes up for lost time! Enjoy and keep check'in in for more updates!
Happy summer!

Monday, April 22, 2013

the pressure is on...

Well, my parents will be here this weekend and my sister will come later in the week. Now the pressure is on for me to get these last few things finished:
-the kitchen cabinets
-clean up the dining room-used as workspace
-paint the living room
-finish painting mirror frames in upstairs bathroom
-window treatments in dining room and living room
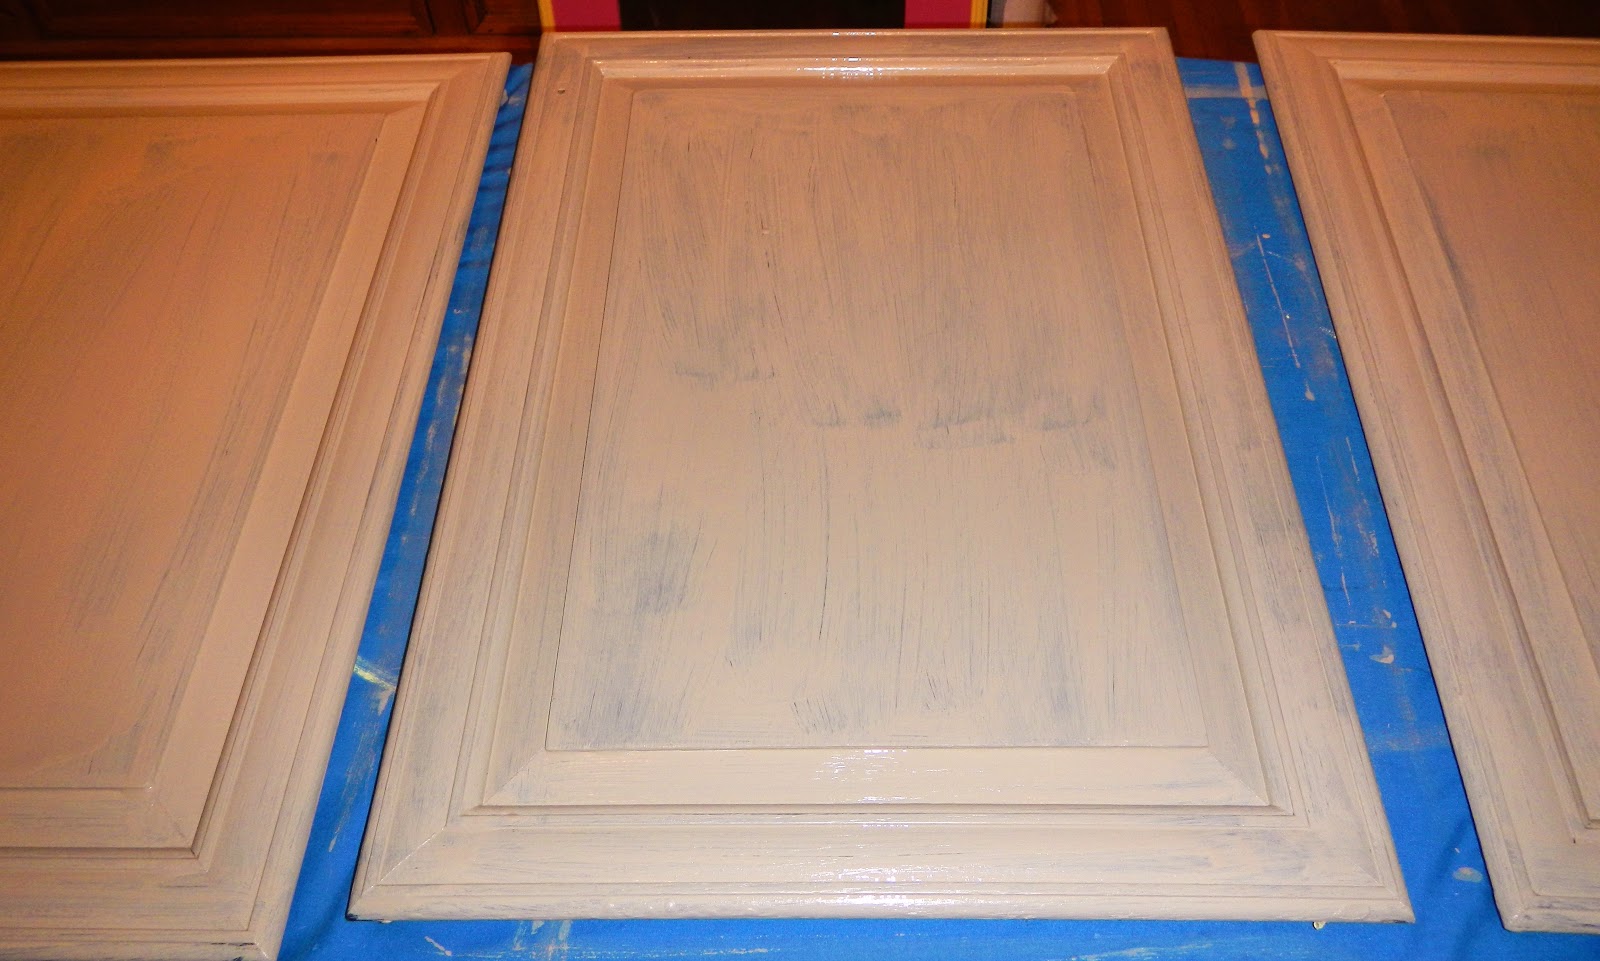
Here is a quick tutorial on refinishing cabinets with the Rustoleum Cabinet Transformation kit:

scrub down with dish detergent & water using a green scrub pad
let dry


I applied the deglosser and rubbed well using a warm, wet, textured towel

rinsed cloth, rubbed well a second time


let cabinets dry real well before applying the bond coat

FYI-I read an online review on using this product-
when painting over darker cabinets, especially dark, stained oak, it is recommended to use the "Dark" kit
if you choose the "light" kit, it is recommended to prime cabinets first to prevent yellowing
I used "Potter's Wheel" which is the lightest color in the "Dark" kit
click here for color choices:

http://cabinets.rustoleumtransformations.com/colors.php

I applied to all corners first

the bonding coat does not start to dry immediately
it gives you time to work with it and smooth out until everything is even

let dry well, again...

apply 3 coats total, letting each coat dry well
Now can you see why this took months for me to complete?


the protective coat is thicker than the bond coat and has a cloudy look to it, as it dries, it turns clear
this has to be applied pretty quick and can not be brush over and over
I found it was best to apply evenly, let dry completely
look at cabinets on an angle to see if any spots were missed
I touched up many of the cabinet doors after they were hung 

FYI-I actually painted the backsides first
painting only 2 coats of color
I just have to pick up some beadboard to finish off the peninsula, then I'll be finished w/the cabinets:-)
Check in for the full pictures!
Also, scroll down to see the finished chalkboard!

Thursday, April 11, 2013

lots to catch up on

I promise that I've been busy working on all of my "projects", I just couldn't seem to squeeze in a new post-so sorry for that. My parents and my sister with her family are coming up to New York at the end of the month for a very exciting and busy visit. This has been my goal to get soooo many things done before they arrive. Let me share what I've been working on:


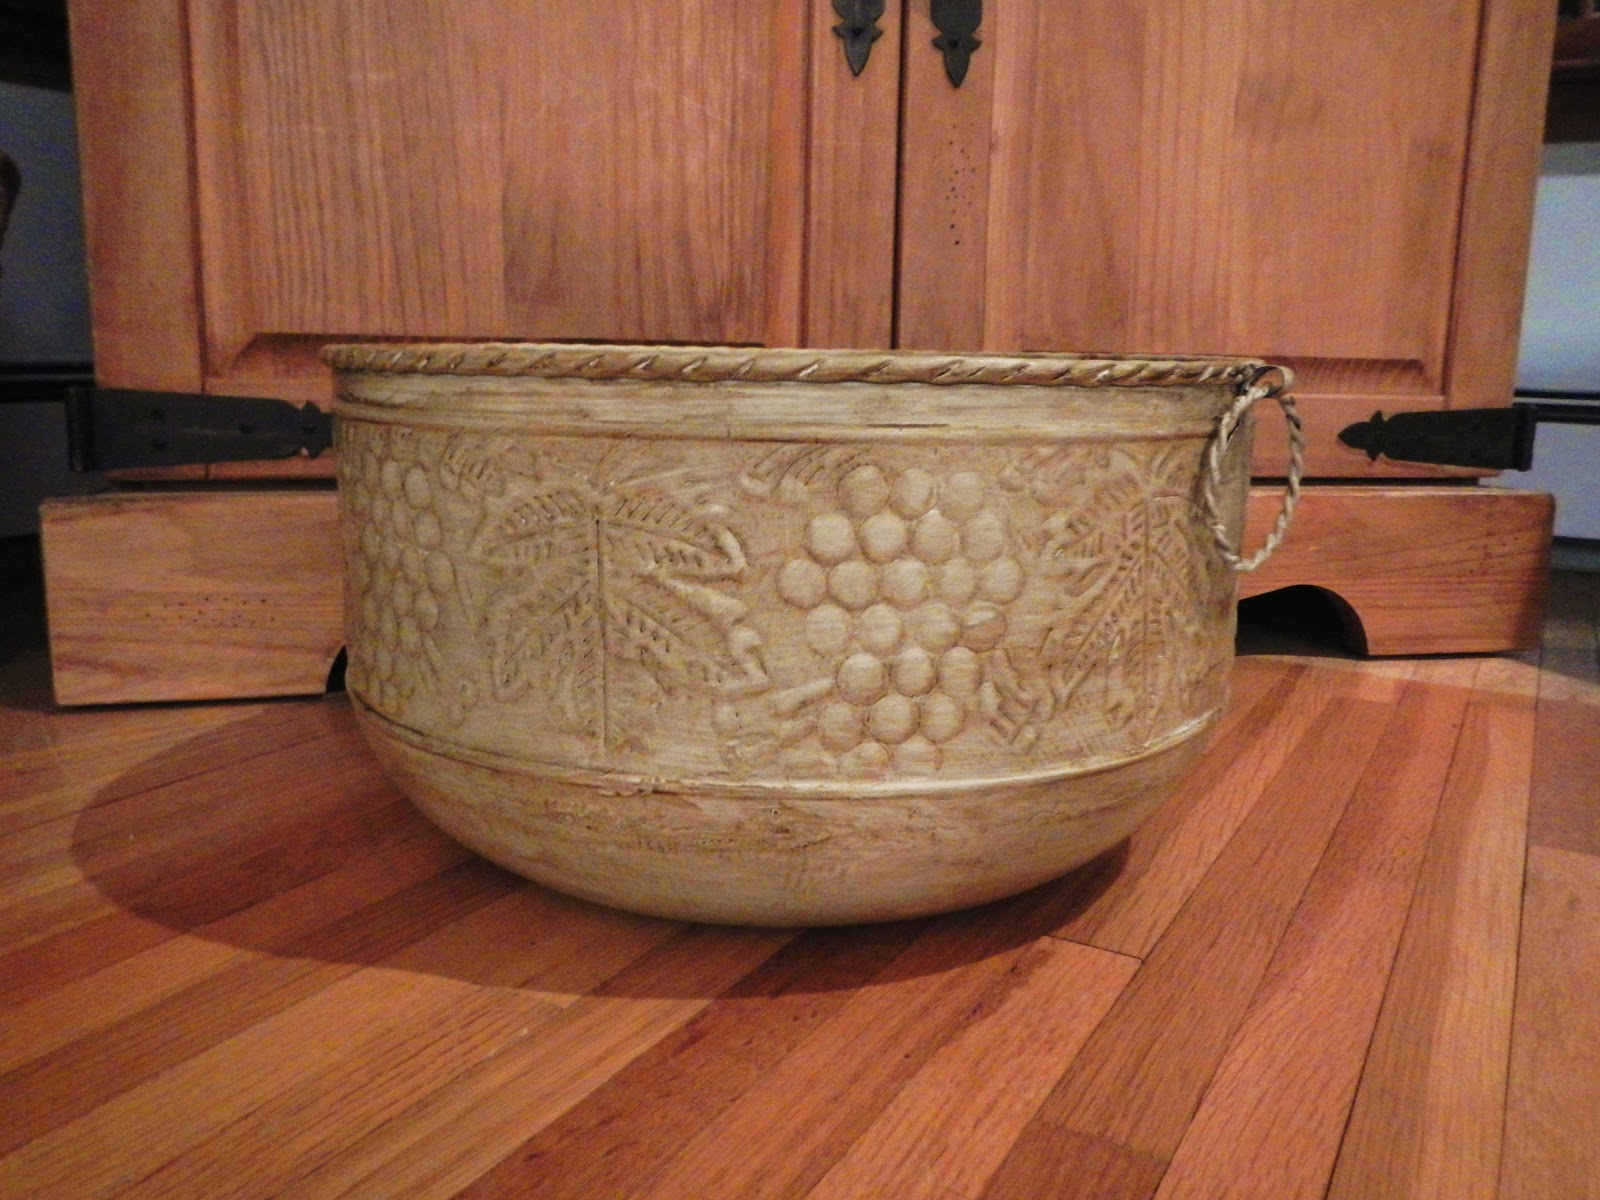
This large tin bowl was a TJMaxx find, I've actually had it for years.
I wasn't liking the color for where I wanted to use it.
FYI, it will be used in our "Americana" living room that I will hopefully be starting next week!

So I painted it!
I spray painted it white, inside and out, then rubbed stain allover until it looked even.
Tada!
We HAD to get rid of these 1970's outdated light fixtures.


Ugh!!!


So much better.
                                                                Onto some fun stuff!

 
I bought this chalkboard paint to paint a chalkboard on a wall in our "Americana" living room/play room...


Then I got this idea...


I cleaned the side of this cabinet with the deglosser from the Rustoleum Cabinet Transformation kit.
Let the cabinet dry...

Stir well.


Using a smooth foam roller, appy 3 coats-letting each coat dry thoroughly in between.
 Let sit for 3 days.
Condition by rubbing the side of chalk all over the entire board, erase, ready to use!


my new friend

I wanted to introduce you to my new friend, an Electrolux vacuum cleaner. My mom has it and loves it, a couple of friends have it and love it-had to get one! It was$116 @Kohls, I had a 30% coupon for it, totally worth it!
"Ergo Rapido" bagless, lightweight vacuum
has a hand held detachable vacuum for small clean ups.
I was extremely surprised at what this small vaccuum can pick up.

Friday, March 15, 2013

little by little


Well, I didn't care for the dark wall color behind these cabinets after the backsplash was installed...
 

...So, I painted  the two walls behind the cabinets a creamy off white called "Birch White". The opposite wall remains the mocha color, which is actually closer to an olive green.
Like the backsplash? I chose "antique white" grout to bring the granite color into the backsplash.


Yes, that is a "Hello Kitty" toaster next to my Kitchenaid mixer.
You can see that I am now finishing up the bottom cabinets-a little harder to do with a six month old puppy around.


The floor


I chose "mushroom" for the floor grout to blend right in with the tile color.


While "Tile Concepts" of Wappingers, NY was working on the kitchen, I started painting the dining room. The top is painted "Dune". The bottom is the same creamy "Birch White" I used in the kitchen. The paint I used is Valspar paint and primer in one to completely cover the blue paneling and create a beadboard/wainscoting look.


Friday, March 1, 2013

fitting it all in...

Well, life is crazy for us right now. My husband is working long hours. Between hairstyling, being mom and wife and keeping house, I decided to add a little more craziness into the mix. We're getting the kitchen floor tiled and the backsplash put up. It should all be finished next week sometime. Here is a sneak peak...


 As you see, our kid's bathroom is coming along. On the walls, I used Benjamin Moore Kitchen and Bathroom paint in "night train".
 

I'm updating the frames of two old brassy mirrors-in the bathroom-with silver acrylic paint, then I will rub a stain over them for an antiqued effect.