Sunday, July 28, 2013

and the list goes on...

My husband said to me today, "Your like a ping pong table!" He's right. I have projects going on all over the place! He was running out to Home Depot this morning and asked if I needed anything, bad mistake. I started rambling off a few things then asked if he could rent me a steamer to remove more wallpaper. He said "no, I have to finish all of my other projects before I can begin something new". I need him to keep me focused :)
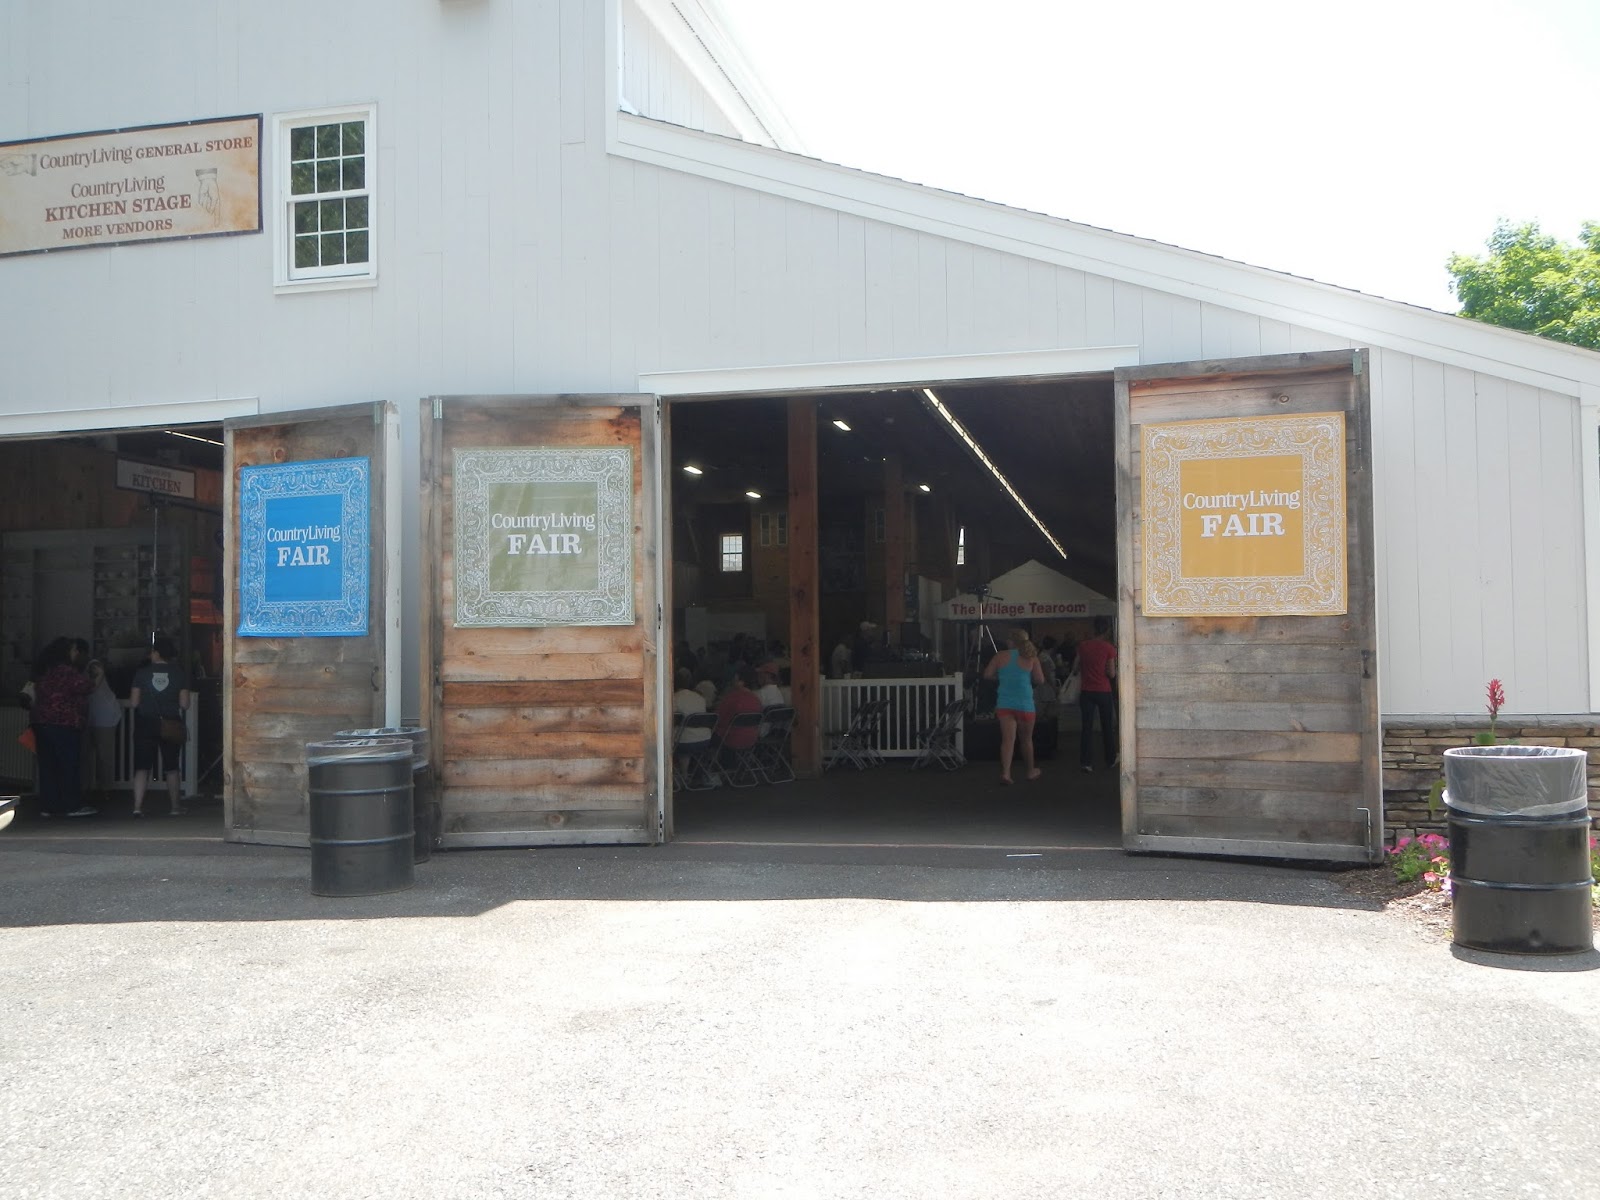
I hope everyone is having a great summer. I'm enjoying the time with my kids. We've been opening some more boxes (yes, still unpacking) and finding places for all of our things. The kids get excited when they find more toys! I'm trying to clear out and organize our basement-this will take a while. The kids were busy with morning camps through July so we're looking forward to sleeping in and hanging at home. Mommy's looking forward to finishing all of her projects :)

I found this little table at an antique center a couple of  years ago. So cute but needed some serious help.
 I finally did something with it! 


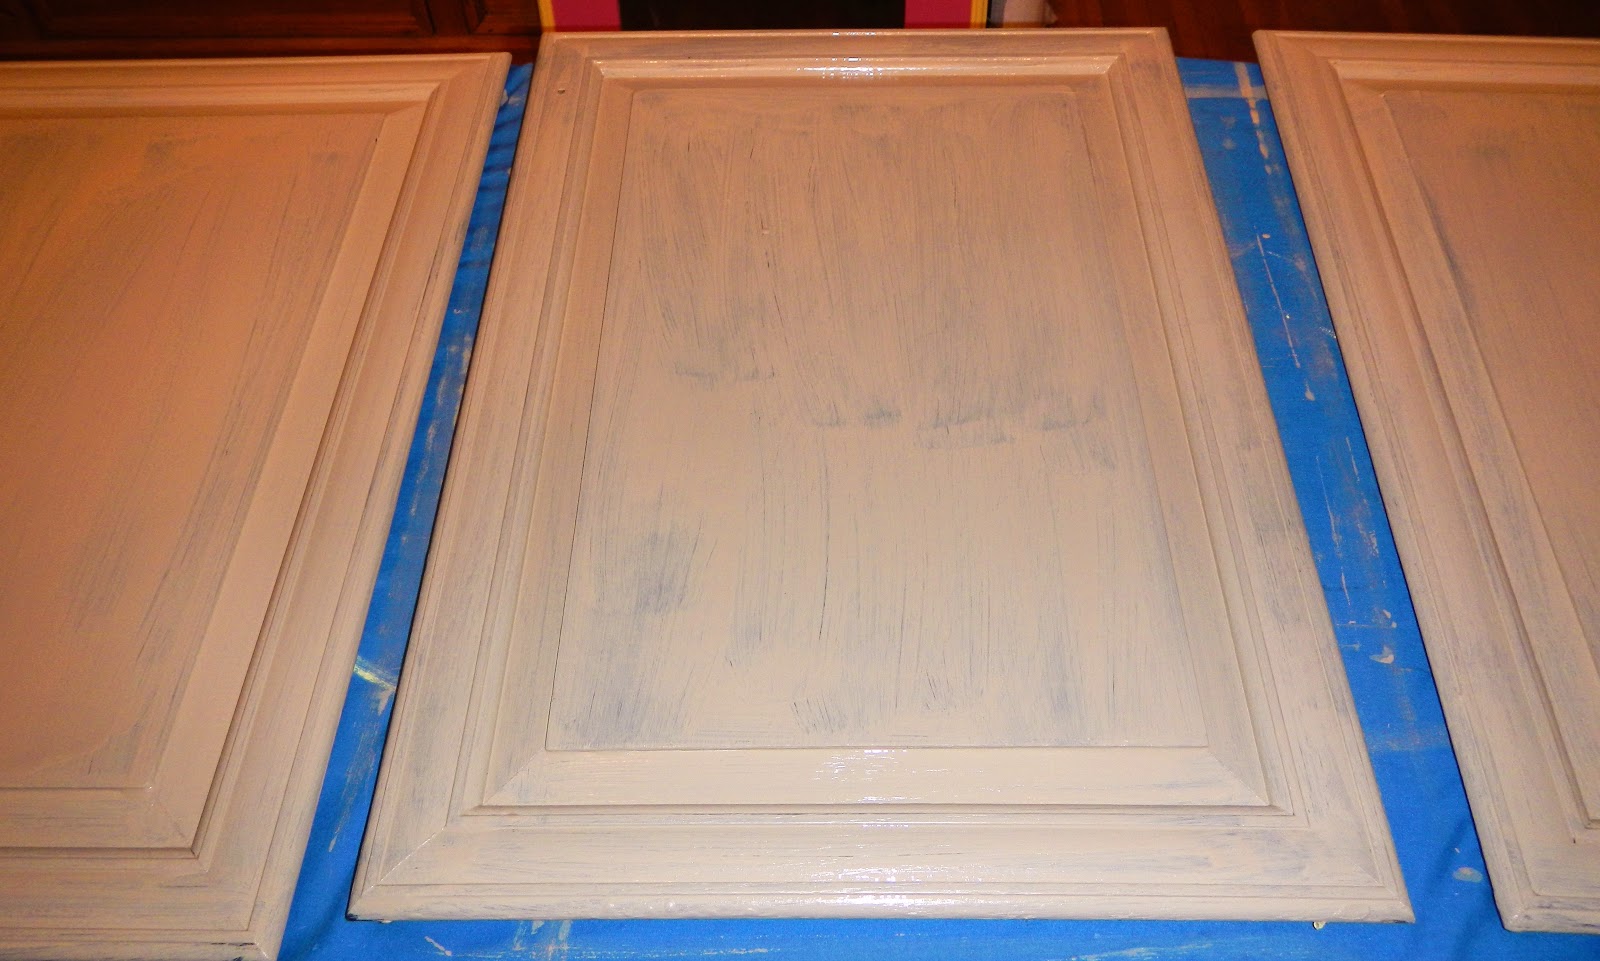
I used Scotch Brite pads (rough, green pads) with Spray 9 cleaner to scrub this table down.
Sanded it a little to smooth any loose paint but wanted to keep the "worn, used" look.
Wiped down with damp cloth.


After the table dried, I sprayed it down with Rustoleum 2x-double cover white flat paint, allowing the rough areas to come through.


I will have lots to post in this next week as I complete each of my projects in the works!
Refinishing a couple of dressers, finishing trim in kitchen, Our "Where We've Been" map, a photo collage, darkening brass fixtures & fireplace doors...the list goes on and on.


Monday, June 10, 2013

Country Living Fair part two...


Entering the fair on Sunday-
Much better weather!


There was a cooking show going on inside this building, I was on my way over to another barn to watch
"Cari's" presentation (HGTV's Cash and Cari)


Lots of stuff!


More stuff!


Love the bandannas hanging off of the rustic beams in these huge barns


Here's Cari!
Cari has a great story of how she started Re Purpose.
She was inspired by her grandfather who saved EVERYTHING!

 You can watch her show on HGTV.com, I recommend checking out the episode with her grandparents estate sale.
http://www.hgtv.com/video/caris-family-sale-video/index.html


BEAUTIFUL


JUST BEAUTIFUL


This table was set up in the "Country Living" building where they displayed many of their decor/cookbooks,
you could have your book signed by the editor.
 

Friday, June 7, 2013

Country Living Fair...

Well, it is a very wet day here in the Hudson Valley. My husband and I went to the fair and got soaked! It was worth it...lots of great "stuff" to see. I will be going back on Sunday, it's supposed to be a beautiful day-hopefully everything will dry up by then. It will be a better day to take pictures.


I loved these flags draped building to building.

Each has a different fun print!
Here I am with Cari from HGTV's Cash and Cari!


These plastic tablecloths were covering every table around the entire fair. Don't you love this print?
Each one had the little tin with one marigold, how simple.
My lunch was a yummy pita filled with lettuce, tomatoes, onions, feta cheese & greek dressing!
Can't wait to go back!


Tuesday, June 4, 2013

As the school year comes to the end...

I was so busy up to the end of April getting everything done on my list before my family came in to NY. After they left, I needed a break. I had tons of laundry, the weather was nice and I was dying to get outside  do some cleaning up. Now, all of us moms are looking forward to the last day of school...or are we?
I'm always working on something around here...let me catch you up on a few things...


I used a shoe organizer to store cleaning products! Got this great idea from pintrest.
 

We hung it in a large hallway closet. Very convenient for downstairs cleaning!

Our kid's bathroom mirrors-from brass to pewter!
I cleaned them well, let them dry, used a metallic acrylic craft paint, finished with a light stain.
More kitchen pictures...


notice the pendant lighting?


We still have to paint and trim out the bead board on the peninsula and floor.


I created this little "wine bar" for myself in my dining room 


The dining room walls came out great. I'm very happy with the colors...still needs to be straightened up for full room pix!


a little more for you


My Americana living room


The paint color is Martha Stewart "seal"
in Behr paint (flat)

Liberty did not want her picture taken today

She is 9 months old now!

Tons of fun with an attitude!

Can you see her hiding in this picture?


I found these dish covers, great for an outdoor party-$3.29 each at The Christmas Tree Shop, table cloth $9.99.
 (FYI same covers at Target were $9.99!)

I couldn't wait to get into planting some color around here!
I hope this makes up for lost time! Enjoy and keep check'in in for more updates!
Happy summer!

Monday, April 22, 2013

the pressure is on...

Well, my parents will be here this weekend and my sister will come later in the week. Now the pressure is on for me to get these last few things finished:
-the kitchen cabinets
-clean up the dining room-used as workspace
-paint the living room
-finish painting mirror frames in upstairs bathroom
-window treatments in dining room and living room
Here is a quick tutorial on refinishing cabinets with the Rustoleum Cabinet Transformation kit:

scrub down with dish detergent & water using a green scrub pad
let dry


I applied the deglosser and rubbed well using a warm, wet, textured towel

rinsed cloth, rubbed well a second time


let cabinets dry real well before applying the bond coat

FYI-I read an online review on using this product-
when painting over darker cabinets, especially dark, stained oak, it is recommended to use the "Dark" kit
if you choose the "light" kit, it is recommended to prime cabinets first to prevent yellowing
I used "Potter's Wheel" which is the lightest color in the "Dark" kit
click here for color choices:

http://cabinets.rustoleumtransformations.com/colors.php

I applied to all corners first

the bonding coat does not start to dry immediately
it gives you time to work with it and smooth out until everything is even

let dry well, again...

apply 3 coats total, letting each coat dry well
Now can you see why this took months for me to complete?


the protective coat is thicker than the bond coat and has a cloudy look to it, as it dries, it turns clear
this has to be applied pretty quick and can not be brush over and over
I found it was best to apply evenly, let dry completely
look at cabinets on an angle to see if any spots were missed
I touched up many of the cabinet doors after they were hung 

FYI-I actually painted the backsides first
painting only 2 coats of color
I just have to pick up some beadboard to finish off the peninsula, then I'll be finished w/the cabinets:-)
Check in for the full pictures!
Also, scroll down to see the finished chalkboard!

Thursday, April 11, 2013

lots to catch up on

I promise that I've been busy working on all of my "projects", I just couldn't seem to squeeze in a new post-so sorry for that. My parents and my sister with her family are coming up to New York at the end of the month for a very exciting and busy visit. This has been my goal to get soooo many things done before they arrive. Let me share what I've been working on:


This large tin bowl was a TJMaxx find, I've actually had it for years.
I wasn't liking the color for where I wanted to use it.
FYI, it will be used in our "Americana" living room that I will hopefully be starting next week!

So I painted it!
I spray painted it white, inside and out, then rubbed stain allover until it looked even.
Tada!
We HAD to get rid of these 1970's outdated light fixtures.


Ugh!!!


So much better.
                                                                Onto some fun stuff!

 
I bought this chalkboard paint to paint a chalkboard on a wall in our "Americana" living room/play room...


Then I got this idea...


I cleaned the side of this cabinet with the deglosser from the Rustoleum Cabinet Transformation kit.
Let the cabinet dry...

Stir well.


Using a smooth foam roller, appy 3 coats-letting each coat dry thoroughly in between.
 Let sit for 3 days.
Condition by rubbing the side of chalk all over the entire board, erase, ready to use!